 Please note: The advance purchase price for Memory Maker has increased to $169 (from $149) since this post was originally published.
We (I should really say I ) decided to fork over the $149 advance-purchase price for the Memory Maker photo package for our recent trip to Walt Disney World. (You can check here for what really prompted the purchase.) I believed we would absolutely get $149-worth of happy vacation photos and would have plenty of time to take advantage of those awesome Disney photographers situated throughout the parks. Well, as it turned out, not so much. What went wrong? I’ll tell you – it wasn’t Disney’s fault! We didn’t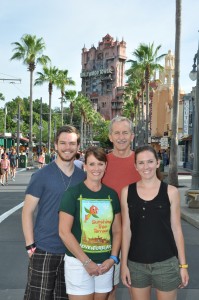 make the most of a great opportunity and I wouldn’t want you to make the same mistakes we did. Here’s a complete recap of our experience, where we went wrong, and how you (and we) can make Memory Maker a good investment in the future.
Click here for details about what is included in the price of Memory Maker.
Okay – about OUR Memory Maker experience:
We started having pictures snapped on our arrival day. We were at WDW for a full 5-and-a-half days, so you’d think we would have ended up with a huge bunch of pictures, right? No. Here’s where we went wrong – we passed up great opportunities early in the day when we 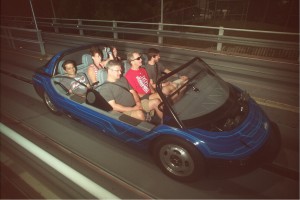 still looked pretty fresh and well-rested. Why did we not stop for pictures? We would have had to wait in line behind at least one, but usually two or three other families. I had never noticed much of a wait for pictures before, but as with many things in life, as soon as you want something, it’s not as readily available as you thought it would be. See, we didn’t want to wait – we wanted to make the most of those early morning Extra Magic Hours, so we passed up loads of photo ops. That was mistake #1 in a series of poor Memory Maker decisions that resulted in a less-that-optimal use of our vacation dollars.
Here’s what we ended up with and our Do’s and Don’ts for the future. I hope this helps you avoid making the same errors we made and end up with a lot more great pictures.
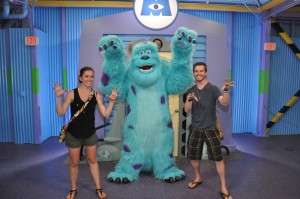
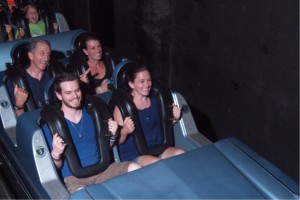
Our Memory Maker efforts netted us a total of 43 pictures. Of those 43, 11 were ride photos. So, there were 32 “other” pictures to choose from in 7 different settings. Of those, about 18 were likeable enough to possibly want to have them printed. Ride photos are tricky! If 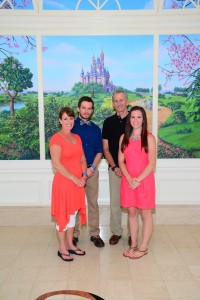 we weren’t all in the same vehicle, we’d end up with only two of us in the picture with complete strangers. We did not get all of our ride photos – even after a call to the PhotoPass people for help. They did manage to recover some of them and Disney’s rumored use of the MagicBands’ RFID capabilities for linking on-ride photos to My Disney Experience may help with that in the future. Details here.
Tips for Using Memory Maker:
1. Get photos early and often. If we had just stopped two times each day, we’d have ended up with 12 different settings with pictures to choose from (instead of our measly 7, not including ride photos).
2. Break up the group – yes, it’s nice to have all of you together, but we should have had just the kids in some pictures and just Raymond and I in others – or even father/daughter, father/son, and so forth – which we did not do!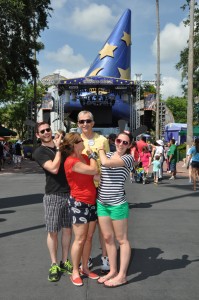
3. Check your clothing! My shirt rode up on one side from carrying a backpack and nobody told me to pull it down – made me HATE a bunch of pictures. Don’t let this happen to you!
4. Wait in line when necessary or go off the beaten path if you want a good many pictures to choose from. There are photographers available in more places than just Main Street U.S.A, Hollywood Blvd., in front of Space Ship Earth, etc. They’ll be on hand for most character meet-and-greets as well.
5. Ask if any “magic” pictures are available. The addition of Tinker Bell or Baby Simba (among other magical add-ons) to your group (or solo) shots may make you happy! In our case, we think the Animal Kingdom 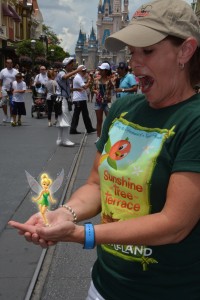 photographer may have thought our children were a couple (not sister and brother) and added Baby Simba in Megan’s arms – we found this awkward.
6. The photographers will be happy to take pictures with your camera! Be sure to have them do this!!! That way you’ll have different photo types/quality to choose from. Also – you can post those all that much sooner to Facebook, Twitter, and Instagram if you’re so inclined. We should have done this at 1900 Park Fare – every one of those pictures came out too saturated with color in a weird way.
7. Make it fun. Be silly – take the time to shake it up a bit. We were too boring and in a hurry to make the most of our chances for some fun pictures – don’t make the same mistakes we did!
8. Be sure everyone is linked in My Disney Experience – that way if your group splits up, you’ll get all the pictures taken of everyone, even if you weren’t there. After the pictures are taken, the photographer just needs to scan one person’s MagicBand – that’s it!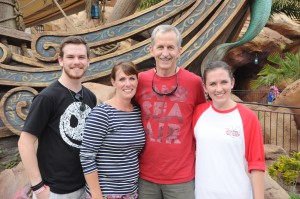
There you go – that’s the best advice I can give you. If you part with $149 for Memory Maker, hopefully this review and tips will help you get the most from your investment. Got pics? I’d love to see pictures from your Disney vacation! Please hop on over to Living a Disney Life on Facebook and share a picture with us there.

