Christmas With a Hint of Disney

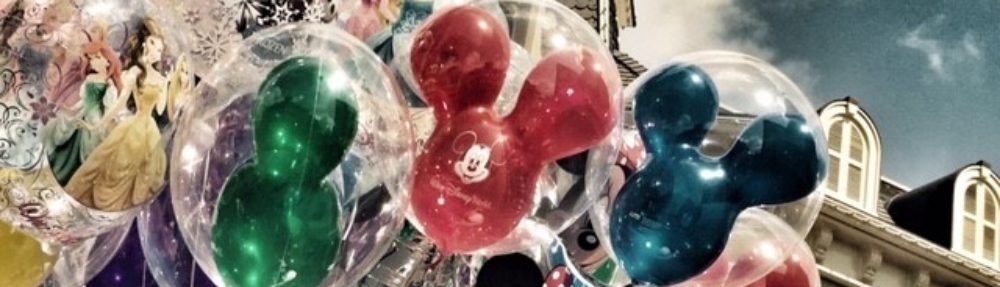
I’m getting a late start with Christmas decorating this year.  I’m not complaining, just stating a fact.  Raymond and I spent our first Thanksgiving without our offspring in Franklin, Tennessee with my family.  I missed the kids, sure, but I made the most of the completely amazing shopping opportunities to be found in this fantastically historic town south of Nashville.  While I was buying Christmas presents, I had two other things on my mind – Disney (it’s always on my mind) and holiday decorating.Christmas-Framed-Picture-Project

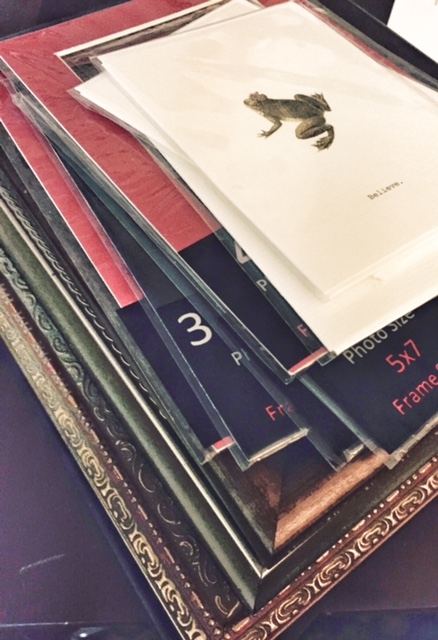
At my house, not everything has to be officially Disney to be Disney-esque to me.  Sometimes I like just a sprinkle of pixie dust, the mere hint of Disney will do.  While I was shopping for the people on my Christmas list, I came upon a couple of treasures – I was just checking out when I spied these amazing tiny greeting cards, but the line was so long, I couldn’t give up my place to look closer at what caught my eye.  After checking out I realized the potential of these little gems, but had to leave without them due to time constraints.  I couldn’t stop thinking about them and ended up making time to go back to get them the next day.Christmas-Frog-Prince

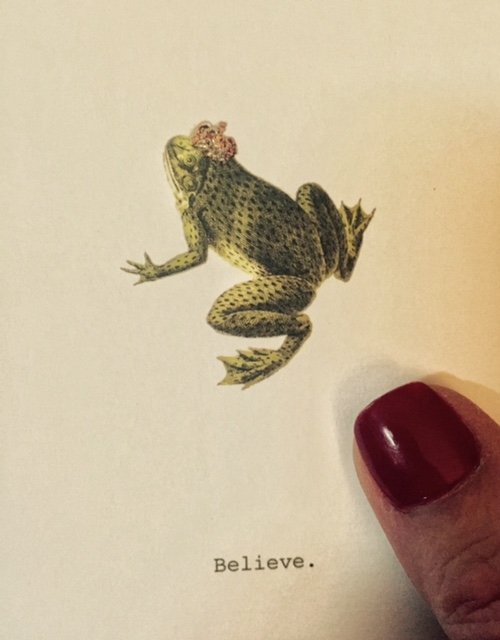
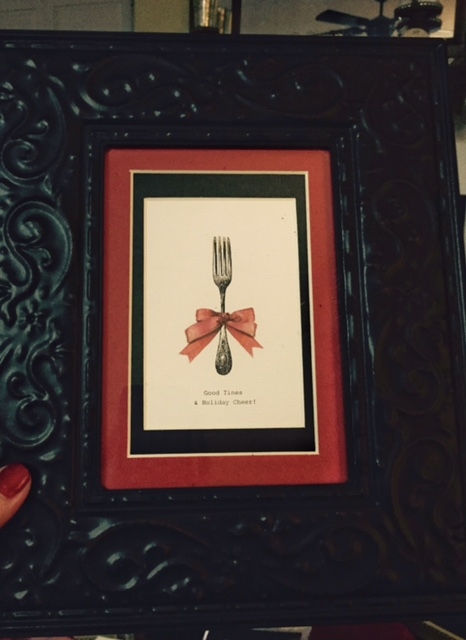
Greeting cards, they were, but subtle, adorable, and very well-done – not your run of the mill cards.  Two of them had that Disney-ish charm.  They were prints of a frog prince and a fork.  The first reminding me of Tiana and her Prince Naveen in The Princess and the Frog.  The second reminiscent of Beauty and the Beast’s Be Our Guest song – “No one’s gloomy or complaining while the flatware’s entertaining!” I had big plans for these small pictures!Christmas-Flatware-Picture-Project

Today at lunchtime, I struck out for my favorite craft store – boy oh, boy, was that place crowded!  I headed straight for the framing section to pick up some mats to make the little cards look more like pieces of art.  Then I made my way to the picture frames where, JOY! Everything was half-off.  After spending more time in line than I did shopping, I was out the door.Christmas-Framed-Picture-Project-Mat

As soon as supper was over, I put together my little works of art and officially have my first Christmas decorations of the year on display!  Cute, no?Christmas-Frog-Prince-Framed Christmas-Flatware-Framed-Picture

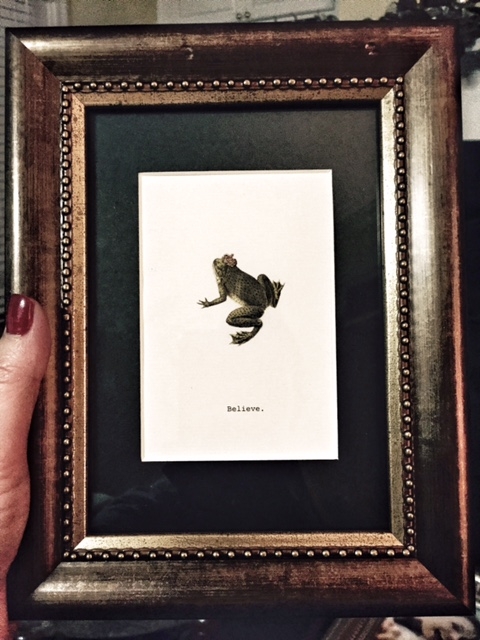
The cards by TokyoMilk can be found online here.

Have you started decorating?  What kinds of things remind you of Disney?

Pinterest Can Ruin Your Disney Vacation

RM-Lisa's-EyesCome closer and look deep into my eyes.  I know, in your heart, you’re trying your best to be the most awesome parent on earth.  You’re planning to take your family to Walt Disney World, Disneyland, or on a Disney cruise.  You want this trip to be the most epic, happily remembered childhood event in the history of forever…so you turn to Pinterest for the best advice on how to make these parental dreams a reality.  CUT THAT OUT!!!

Pinterest Can Ruin Your Disney Vacation

RM-Pinterest-IconI’m well acquainted with the perils of Pinterest and I’ve been virtually hypnotized by all the things there for hours on end.  I love pinning recipes, crafts, home projects, fashion, hairstyles, and Disney stuff…lots of Disney stuff.  See, here’s the thing.  It’s like there are stages of Pinterest obsession.  First, I search and start browsing pins.  Man! Some folks are so incredibly creative!  Next I start getting excited by all the ideas – whoa!  The ideas!  Countdown calendars, party favors, tie-dyed tee shirts, painted shoes, hand printed invitations, Disney resort room decorations – what wonders!  Then I’m making shopping lists for supplies and envisioning the loving, delighted expressions on my family’s faces as I ultimately unveil the finished products.  Then?  After much time and money has been invested…I may end up with crushing disappointment.  Not always, but sometimes, and I’ve learned from my mistakes.  I’ll share these valuable Pinterest lessons with you now.RM-Pinterest-Profile

Get Pin-spired.  It’s often not feasible to exactly duplicate an idea I find.  My best bet is to have a general vision of what I’m going after before I begin my Pinterest search.  Then I can look at the big picture, if you will, and see how other people did similar projects.  I’ll alter, scale back, adjust as necessary – it’s actually better if I get a general idea and don’t try to precisely reproduce what I find.  As a source of inspiration, Pinterest is fantastic!

Be Realistic.  Seriously, this one’s important.  Some perfectly lovely ideas are too expensive, too time consuming, and require artistic ability I do not possess.  Accept your limitations and respect your resources.RM-Pinterest-Disney-Pinboard

Remain Guilt-Free.  If Pinterest starts to make me feel guilty over what I’m NOT able (or willing) to do for my family, it’s time to step away from the computer.  I have a full-time job and demanding (but rewarding) hobbies.  I have children who, while grown, still take up a lot of my time – and I love every minute we get to spend together.  I have the most understanding husband in the world and the best furry friend a person could ask for –  they all deserve the best me I have to offer.  Not a stressed out, guilt-ridden, exhausted mom or wife who takes on more than she can handle by attempting complicated and expensive craft projects because those other moms and wives (I’ve never even met!) seem to effortlessly provide such wonders to their own families.  Get over it.RM-Mardi-Gras-Door

What Your Family Doesn’t Know Can’t Hurt You.  I’m positive my family is not searching Pinterest so they can see what I’m NOT doing.  They’re not looking for projects to suggest to me.  They’re certainly unaware of the extra-fancy, extravagant Disney-themed vacation crafts we won’t be enjoying on our next adventure.  Let it go…nobody will notice.

I’ve preached it before and I’ll keep repeating it – YOU are enough.  Bring your A-game of living in the moment while being relaxed and happy and present for your family on your next Disney vacation.  That’s what we want them to remember.  Fancy countdown calendars and DIY matching tee-shirts do not make or break a trip.  I promise.

Check out these Pinterest fails for a good laugh.  And, for the love of all that is holy, do not attempt homemade cake-pops!!!  Trust me on this one.  And thanks for stopping by.


DIY Disney Christmas Tree Topper

RM-Christmas-Top-HatIt’s been long time since I’ve worked on a Disney craft project.  This one was not even planned, but happened mostly by accident.  Raymond and I were out supporting our local merchants on Small Business Saturday and we happened to be in a fantastic home décor and accessory store that always has the most amazing Christmas decorations!  We were there for just a quick stop to pick up a couple of ornaments for gifts and grab some extra ribbon and deco mesh (you can never have too much deco mesh, right?).

As we were making our way to the checkout counter, I stopped dead in my tracks, having spotted something unexpected and adorable!  I spied a small black felt top hat, decorated festively for the holidays.  As usual, I immediately said what I was thinking, “Hey!  I could put ears on this!” and Raymond, in his usual way, replied, “You could.”  Enough chitchat.  New item added to the armfuls we were carrying, we made for the cash register.

By the time we got home, I had formulated a plan for that little top hat’s transformation into a Disney-themed tree topper.  All I needed was to make use of Raymond’s mad skills with powerRM-Christmas-Ornament-Piece tools.  I handed him a large, sparkly, black shatter-proof ornament left over from the Halloween wreath project and told him to make me a couple of ears from it.  Because I love him, I did remember to yell, “Don’t forget protective eye wear!” as he headed outside to his shop.  I wish I could show and tell you exactly how Raymond managed to slice two perfect ears out of that one ornament, but I didn’t see what he did.  I will tell you it involved something called a die grinder, but I have no idea what that is or does.  If you decide to slice up a plastic ornament, I imagine a saw of some sort would also work.

Now, I knew that if I just glued those ears onto the hat, there would be a big gap between each ear, the hat, and the hat’s brim.  I was trying to figure out a way to fill that gap with some black sheet-foam that I had on hand, when Raymond solved the problem for me by cutting the foam into tear-drops that could be used to cover the RM-Christmas-Top-Hat-Ears-Reverseback of each ear and fill in that gap at the same time – I do love that man!  So, I fired up my new glue gun, which gets really super hot in a hurry, and proceeded to glue the backs onto each ear, then glue the ears carefully onto the hat, making sure the corner part of the teardrop filled in the gap between ear, hat, and brim.  I only sustained one glue-burn (on my right pinky), which is actually good – the injury count where hot glue and I are concerned is normally much higher.

So, making the tree topper proved much easier than getting it in a good position at the top of the tree!  I ended up making a spiral wire around the top of the tree to perch the hat securely on, then I used my old tree topper (sprays wired together to mimic Wishes fireworks) to add some festive touches around the hat.  The moral of this story?  Don’t be afraid to try!  When inspiration strikes, go for it.  The hat was $12.99 and for the investment, Raymond’s cutting skills, and one hot glue burn, we got a pretty awesome new Disney decoration for our tree.RM-Christmas-Top-Hat-Finished

Do you have a Disney holiday craft to share?  Let me know and I’ll put your project on our Facebook page!

DIY Disney Halloween Wreath

Mickey Ornament for Halloween WreathI haven’t done a Disney DIY project since last Christmas and even though I find myself busier this fall than I ever thought possible (where’s the free time my empty-nest status is supposed to afford?), I had an idea.  I love Halloween!  I like to dress up and I love cute and creepy decorations.  So, I mad a new wreath over the weekend.

Maybe I should have called this post, “DIY Disney Halloween Wreath for the Lazy” or “Disney-inspired Halloween Door Décor for the Non-crafter” – basically, I made this wreath out of some things I had on hand and a couple of items I picked up at the local craft store (on sale, 40% off).  If you like it and want to reproduce it, Halloween Wreath Original Formhere’s what you’ll need:

  • Pre-made Halloween wreath from the discount store of your choice OR a plain orange, black, white, or purple wreath and 3-4 coordinating wide ribbons in a variety of prints/fabrics.  My wreath came with sparkly candy corn, white ribbon with black polka dots, some orange and black plaid burlap-ish ribbon, and some sprays in orange, black, and white.  It also had these very cool giant pipe-cleaners sticking out here and there in metallic Halloween colors.
  • Halloween/seasonal sprays of your choice if your wreath is plain
  • Christmas ornaments in two different, complimentary colors (to go with your wreath).
  • Any banner or accessory you’d like to add – I added the orange, sparkly “Halloween” because it was also 40% off and ended up being about $3.
  • Hot glue gun & glue

Halloween Ribbon Ready to UseI wanted to add purple to my wreath so I bought some wire-edged ribbon in black with orange and purple spots.  Instead of bows, I just made some simple loops and wired the ribbon onto the wreath in a few random places.  I made Mickey ornaments out of purple and black Christmas ornaments in two different sizes – just like I do for Christmas (see that project here) EXCEPT – I made sure the hanger was in the back so I could wire them onto the wreath and the hangers wouldn’t show.

I’m not overly thrilled with the purple Mickeys because the ornament sizes weren’t as suitable as the black ones were (the head is too small or the ears are too big – however you look at it), but overall, for slapping together a few inexpensive items, I’m pretty happy with my new Halloween-themed front door decoration.Halloween Wreath on the Door