Oh Disney Tree, Oh Disney Tree

IMG_2292If you’ve been by here for a visit lateley, you’ll have noticed that I’ve been sharing all my tutorials on how to make Disney Christmas decorations. If you missed one, you can find Mickey Ornament how-to’s here and here.  A Mickey door wreath here.  Finally, you can find a Disney painted ornament tutorial here.  The ornaments are all hanging on my Christmas tree, so I thought I’d share a few tips on how I put the whole Disney theme together.

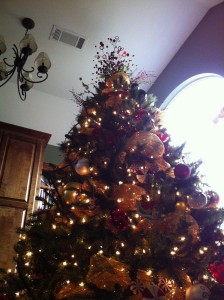
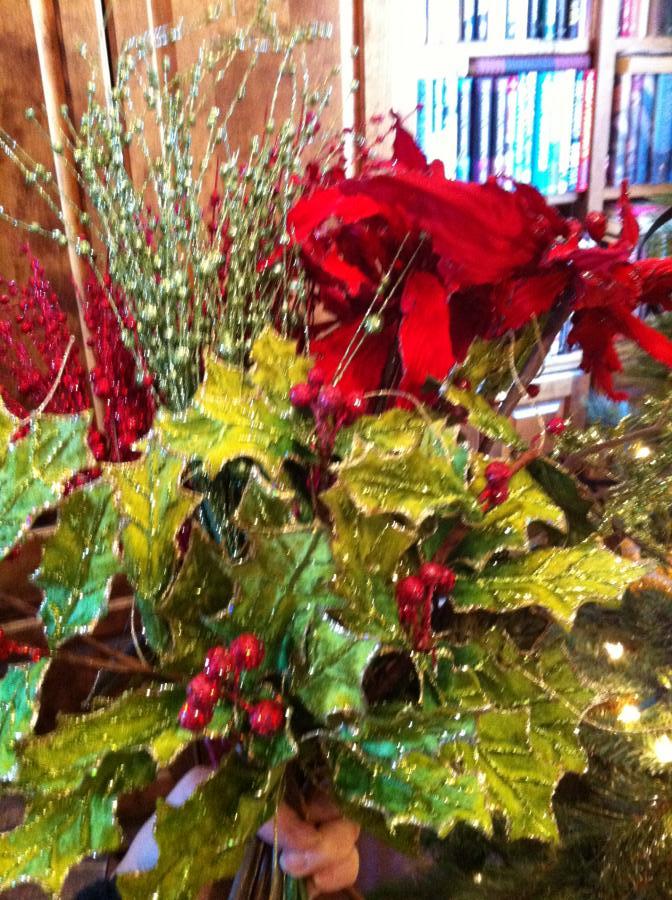
I started with a pre-lit 9-foot tree purchased several years ago – say it with me now- for 50% off at my favorite craft store! Before the ornaments go on, I want the tree to feel Disney-ish, so I start with what I consider foundation or background for the ornaments. I don’t have an official Disney tree-topper (gasp!) so I tried to make the top of the tree represent the “Wishes” fireworks from the Magic Kingdom since Wishes is one of my most favorite things in the world. I used IMG_2236several large Christmas floral sprays in sparkly red and green, adding a couple to the center that had circles that would (hopefully) form Hidden Mickeys when viewed from Copy-of-General-Dis-Pics-11.13-061.jpgdifferent angles. Then, starting at the top, I added yellow/gold deco-mesh – I dislike (hate/loathe-take your pick) deco-mesh and it seems the feeling is mutual. I put it on the entire tree three different times this year and I still think the final look leaves a bit to be desired. Suggestions are welcome. Then on went green and red poinsettias, holly, green and red sparkly floral sprays, and black sparkly dangly-ropey-things (what would you call them?).
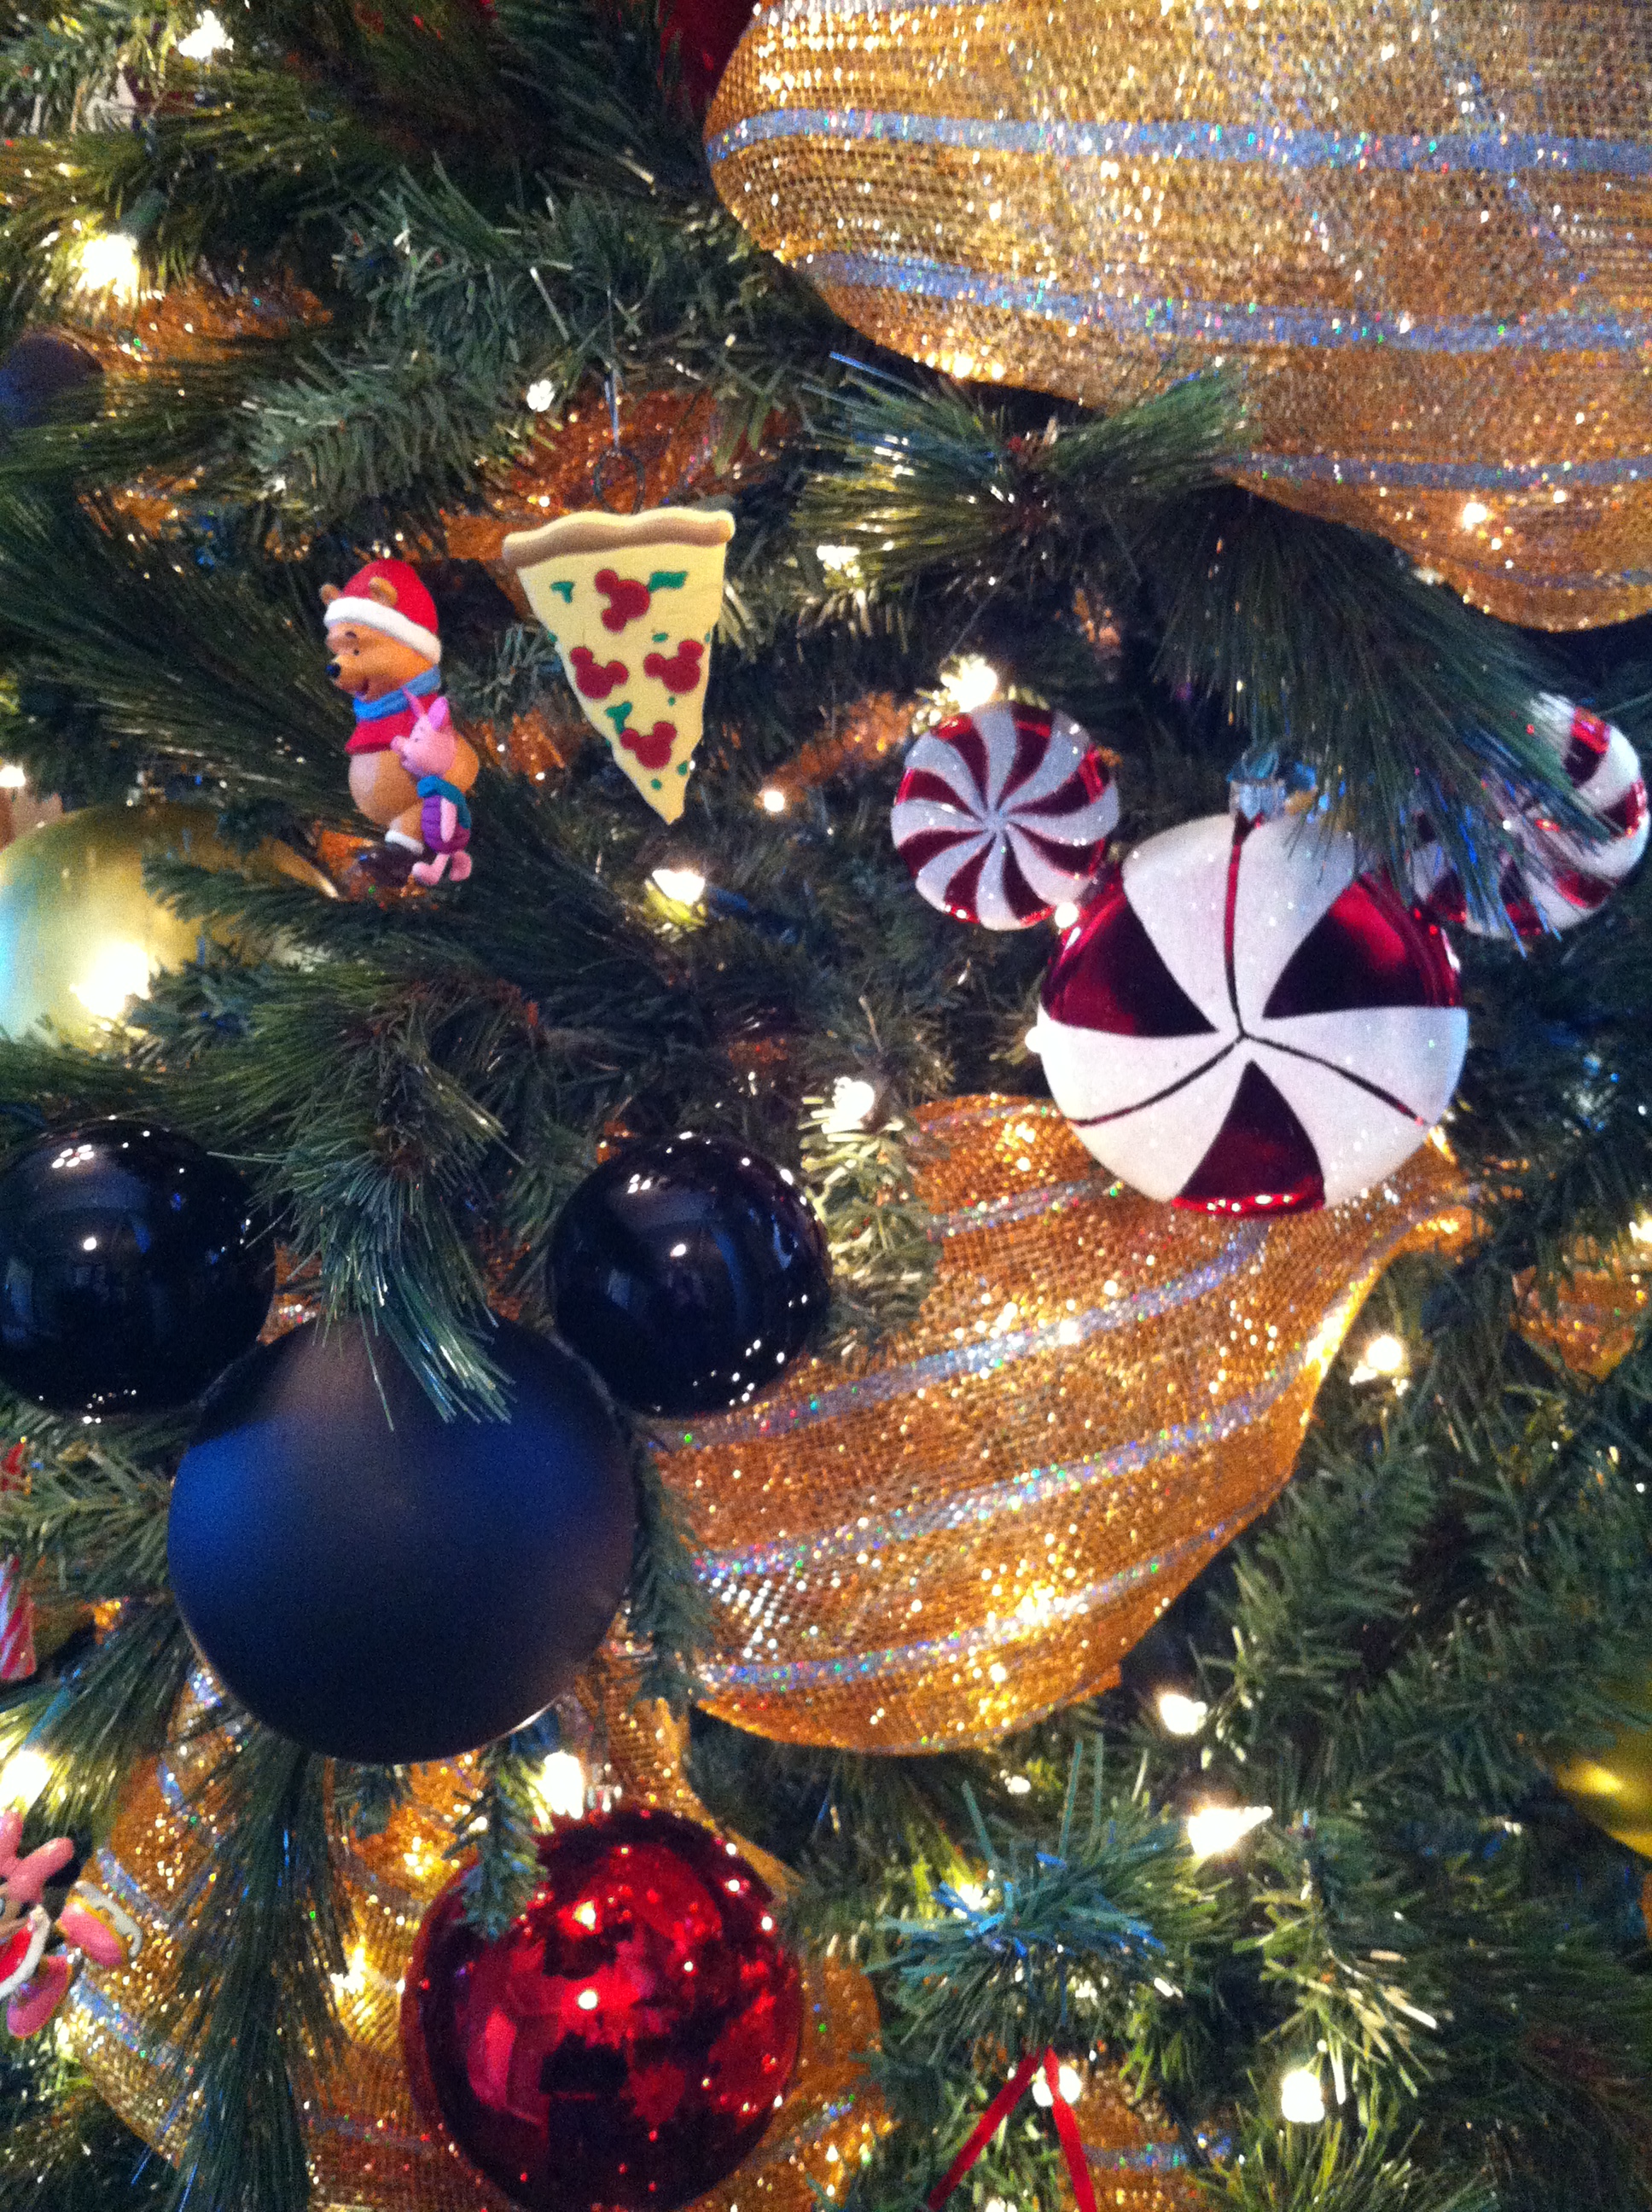
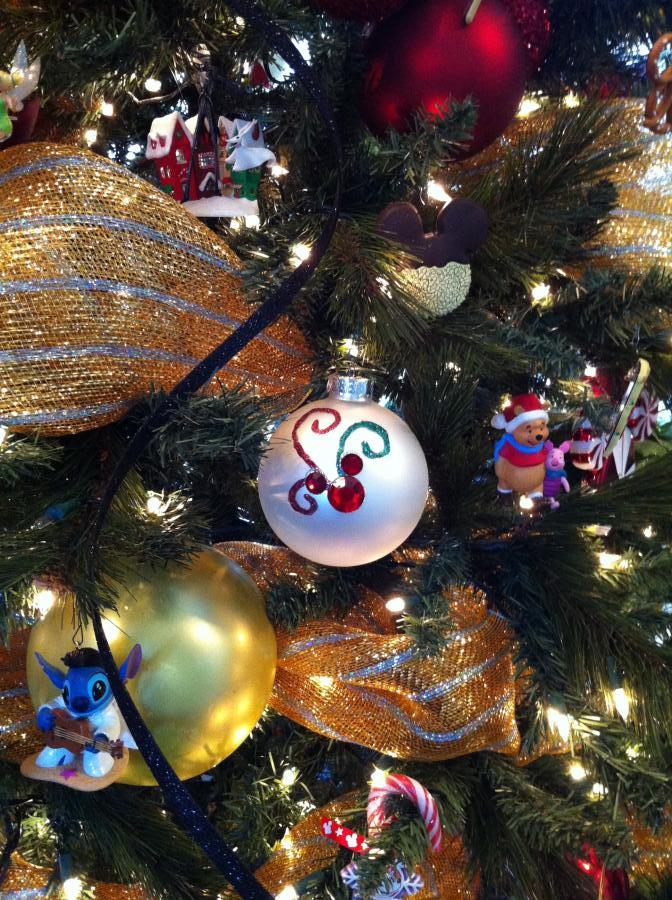
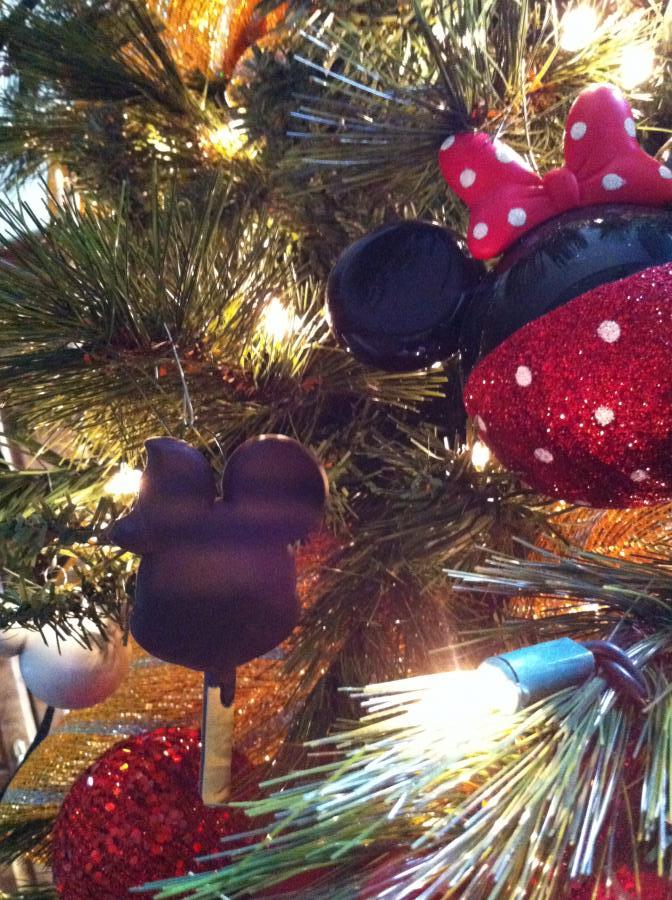
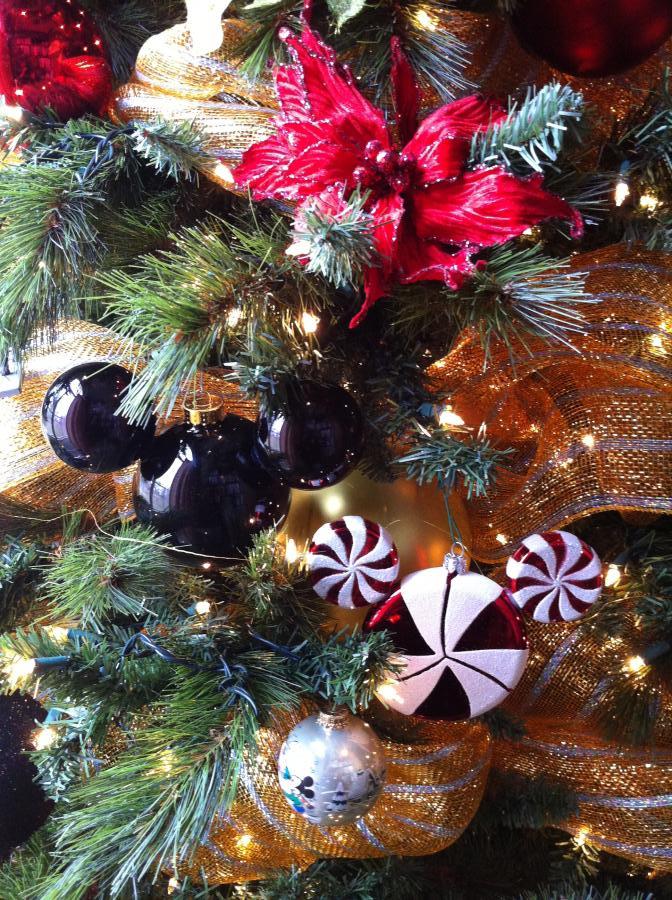
Foundation in place, I was ready for the ornaments. Even before the official (and unofficial) Copy-of-General-Dis-Pics-11.13-061.jpgIMG_2298Disney ornaments went on, I first added large, plain ornaments in Disney colors, tucked back into the tree – so they would fill up the background while keeping the outer branches available for the best ornaments. Then, finally ready for the Disney ornaments, I used the smallest ones at the top and worked my way down – largest mostly on the bottom. Okay – I’ll admit it – I talked Raymond into putting the little ornaments at the top for me. He’s way taller and it kept me from repeating the terrible ladder accident I had last spring. That’s it.  Tah-Dahhhhh.
I’ve surfed the net looking for other Disney trees out there. I know some of you have them, so please PLEASE share your tree pics with me and any DIY Disney decorations you’ve made. I would love to see them and get some new ideas for next year.IMG_2293
Disney’s Castaway Cay – Paradise for Everyone

IMG_1371If you’ve been considering a cruise on the Disney Cruise Line, consider this:  Castaway Cay.  Disney’s very own private island in the Bahamas, visited as a port of call on most sailings with departures from Florida.  What’s so good about it?  Every.  Single.  Thing.

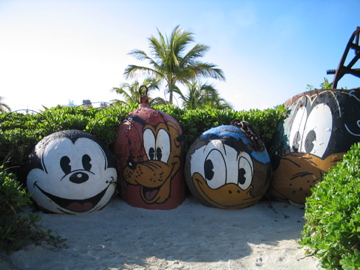
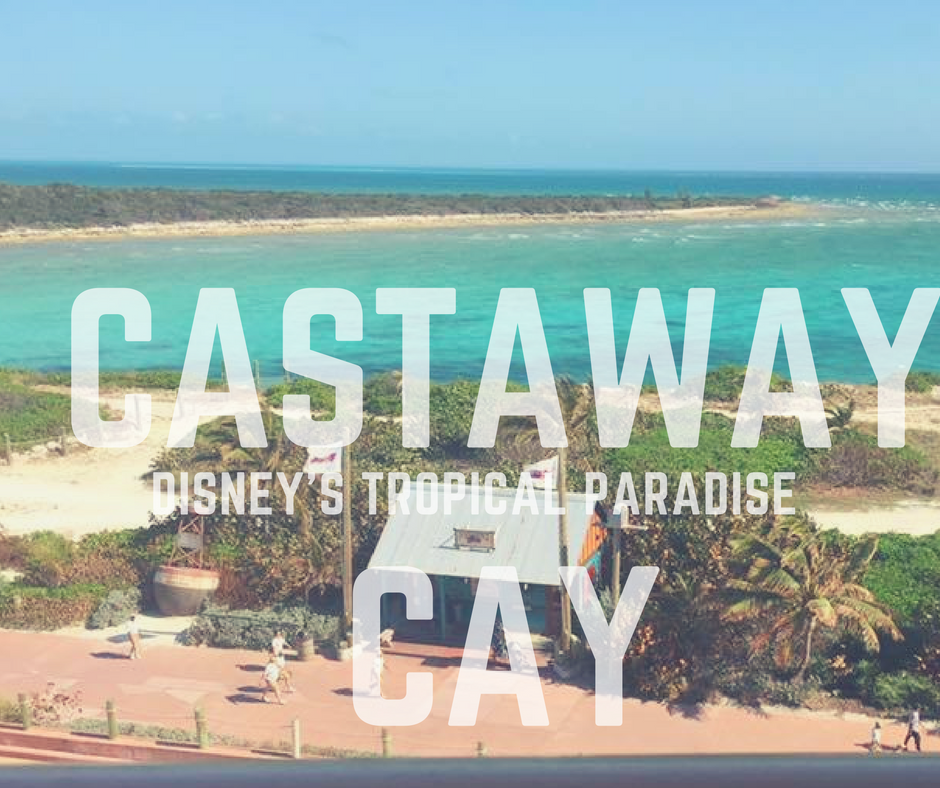
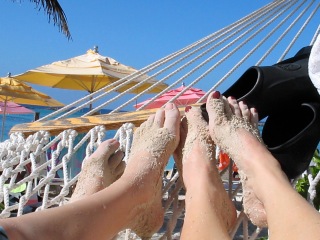
Castaway Cay (pronounced KEY) is a tropical paradise with something for everyone in the family.  No matter what sort of beach person you are (or aren’t), you’ll find happiness on this beautiful island.  Bask in the sun kind of person?  Check.  Action lover who wants to bicycle, boat, snorkel, swim, or run?  Check.  Teen who wants to get away from the parents?  Check.  Adult who wants to get away from any and all children?  Check.  Family that wants to stay together and enjoy a variety of activities?  Yep, Castaway Cay is for you.  The worst thing about a day in this paradise is that it’s too short!  Even if you don’t like sand – you will like Castaway Cay.Castaway Cay - Disney's Tropical Paradise

Sometimes Disney Cruise Line offers “double dip” cruises that visit Castaway Cay twice on one cruise – awesome opportunity to pack in even more fun.  We took such a cruise in 2010 and had the best time ever.  Get up and off the ship ASAP!  All aboard comes all too soon and will most certainly leave you wanting more time in this Disney-style paradise.

Here are some things to do on the island that we recommend:IMG_4673

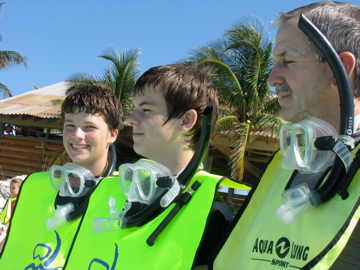
  • Snorkeling.  In the lagoon (equipment rentals available-$25 adults, $10 ages 5-9), the snorkeling is okay, but pretty barren with a few underwater surprises hidden around for you to discover – a better choice is the “Seahorse Catamaran Snorkel Adventure” (Currently $52 for adults and $36 ages 5-9).  Oh, the things we saw!  We swam with a sea turtle, saw tons of colorful fish, gorgeous reef plants, even a stingray joined us for a bit.  I highly recommend this fantastic experience, however, I think it could be a bit of a challenge for the very young or inexperienced swimmer.IMG_2291
  • Bicycling around the island ($39-adult, $19-child/1-hour bike rental).  If you’re not a huge fan of sand, exploring the island on a bicycle is a fun way to spend time and burn off some cruise food calories.  Park your bike and climb the observation tower for an incredible view of the island.  We thought this was a fun way to spend an hour and see what was “out there” away from the beach.IMG_4676
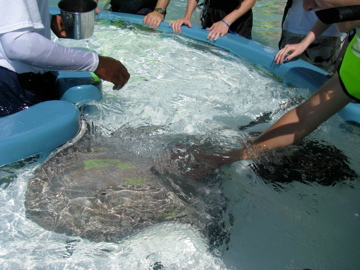
  • “Castaway Ray’s Stingray Adventure” ($35 adults, $29 ages 5-9, lasts an hour).  This is a ton of fun and a not-so-scary way to learn about and interact (by feeding and petting) some small-ish and harmless stingrays.  Then you get to gear up and snorkel with stingrays of all sizes in an enclosed lagoon.
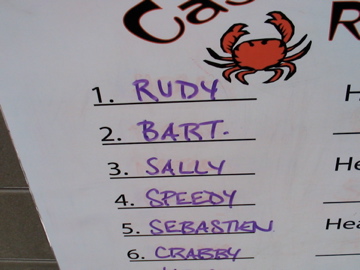
  • Crab Races – this is hilarious!  Cheer your team’s crab on to victory!IMG_2044


  • Cabana Massage (Raymond’s recommendation) – I surprised Raymond with a booking through the ship’s spa for an open air cabana massage on Castaway Cay.  He said it was great – very relaxing – and he would most definitely do it again.

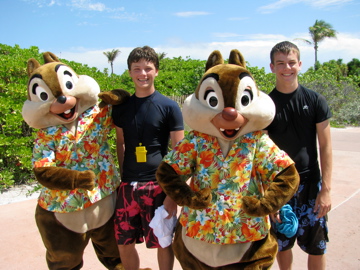
Lunch on the island is a very tasty buffet (no extra charge) plus there are souvenir shops, a bar (hammock-side service available), adult beach, family beach, teen beach, activities for little IMG_1853ones, a 5k run, and much, much more!  Once, while there was a dance party going on – I just happened to walk by and there was Stitch – he ran right up to me and made me dance with him.  (The Fam missed the whole thing and thought I was joking when I told them about it.)  That’s another great thing about Castaway Cay – it’s full of surprises just waiting to be discovered.

You can find the complete list of the current excursions / activities offered on Castaway Cay here.

Have you been to Castaway Cay?  What did you like best about it?IMG_4793

Disney Vintage Vinyl – Christmas Style

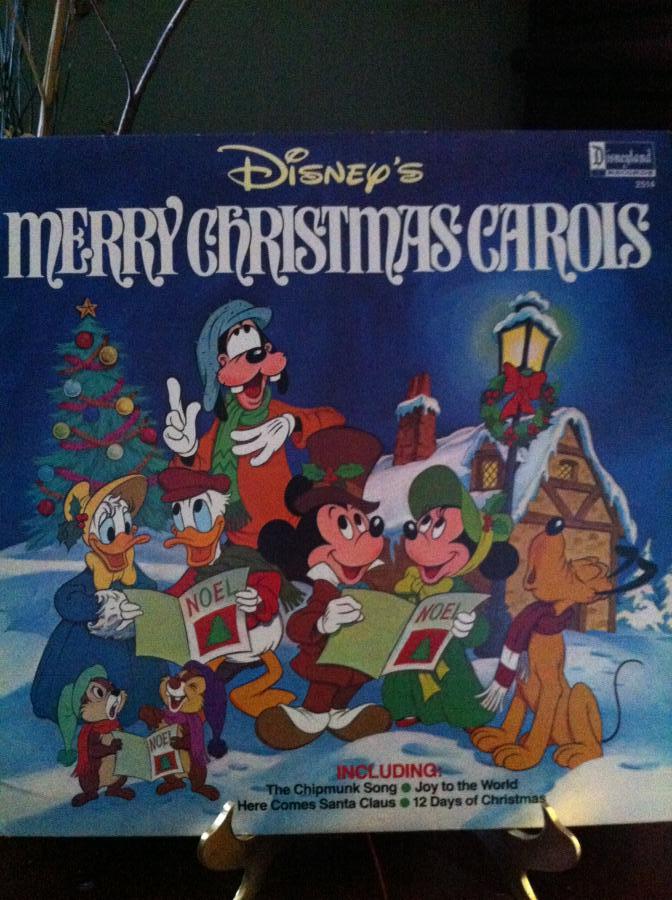
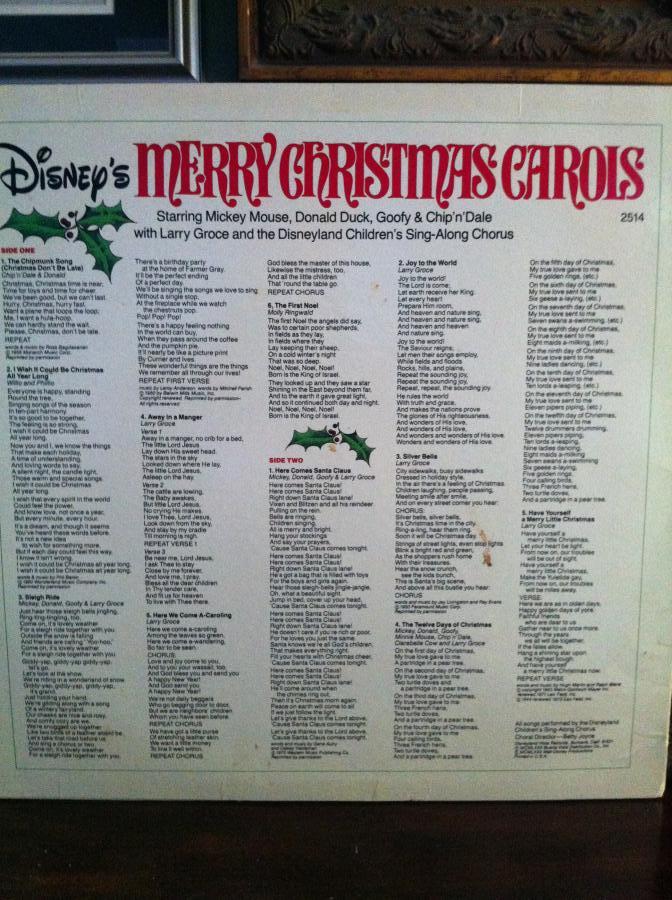
General Dis Pics 11.13 088From our very own Disney Collection (well, Joseph’s anyway), I found a seasonal treat!  This Disney Christmas album from 1980.  (I hate calling it vintage – in 1980 I was in highschool.)  Not only is the album cover adorable, the songs are just great!  I mean who wouldn’t adore an album from 1980 that features Molly Ringwald singing The First Noel?!?  

Mickey, Minnie, Donald, Daisy, Chip, Dale, Goofy, and Pluto are joined by Larry Groce and the Disneyland Children’s Sing-Along Chorus.  Even Clarabelle Cow herself also makes a brief vocal cameo appearance!


Track Listing:
1. The Chipmunk Song (Christmas Don’t Be Late) – Chip ‘n’ Dale & DonaldGeneral Dis Pics 11.13 089
2. I Wist It Could Be Christmas All Year Long – Willio and Phillio
3. Sliegh Ride – Mickey, Donald, Goofy & Larry Groce
4. Away In A Manger – Larry Groce
5. Here We Come A-Caroling – Larry Groce
6. The First Noel – Molly Ringwald
7. Here Comes Santa Claus – Mickey, Donald, Goofy & Larry Groce
8. Joy To The World – Larry Groce
9. Silver Bells – Larry Groce
10. The Twelve Days Of Christmas – Mickey, Donald, Goofy, Minnie, Chip ‘n’ Dale, Clarabelle Cow and Larry Groce
11. Have Yourself A Merry Little Christmas – Larry Groce

If you find yourself in the mood for some Disney Christmas songs of yesteryear, you can still find places online to purchase one of these timeless gems for yourself.  Try etsy, ebay, Svoundtrack.com, or gemm.com – expect to pay $7 to $22 depending on album condition.

DIY Disney Christmas Ornament #3

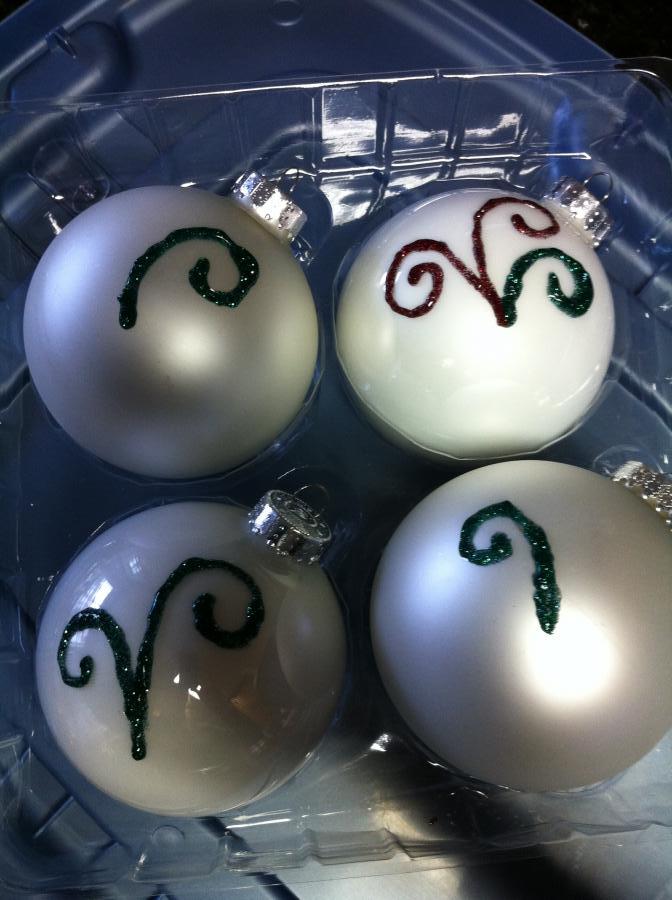
IMG_2245Here’s another DIY Disney Christmas Ornament idea for you.  Confession time:  Sometimes my creativity and my actual artistic ability are at odds.  In the case of this ornament, I had a good creative plan (says me) – the execution of which was negatively impacted by my lack of artistic ability…in other words, I…well….I pretty much suck at painting – even with pointy-ended bottles of sparkly paint. 

But I bet YOU can paint well and that’s why I’m still sharing this project with you (though I was a little underwhelmed by my own results).  You can do better and the supplies are minimum.  Plus the idea is pretty neat since you can change the colors (and ornament sizes) to match your theme.  For example, if you have a Disney Princess tree you could use pink, purple, gold, pastels, etc.  That’s the fun thing about DIY projects – the flexibility!IMG_0755

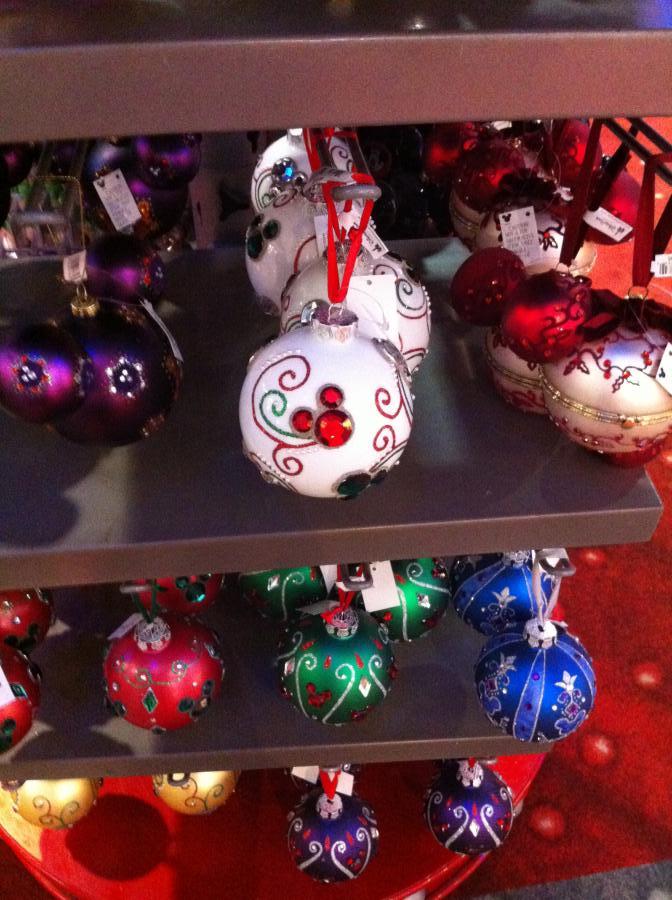
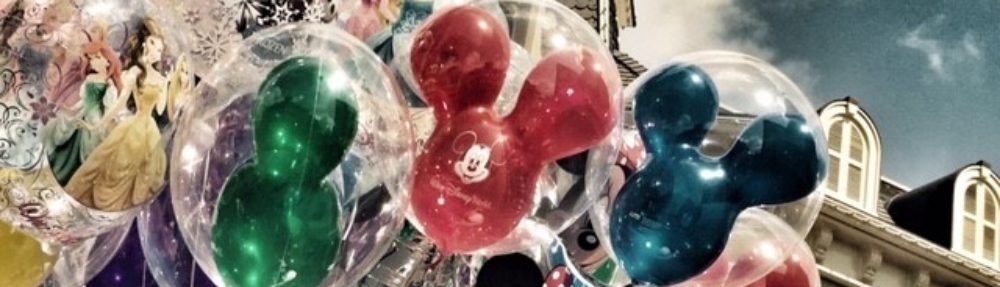
I saw the inspiration for this ornament the last time I was at Disney World (May, 2012) and decided that it looked EASY and I’d give it a go.  HA!  Anyway, these ornaments were both fragile and not really in my budget at the time I spied them, so I took a quick picture and vowed to just crank out some gorgeous (fancy and sparkly) duplicates in the near future – that time came coincidentally as I shopped (c’mon, say it with me now) the 50% off Christmas decorations at my favorite craft store.

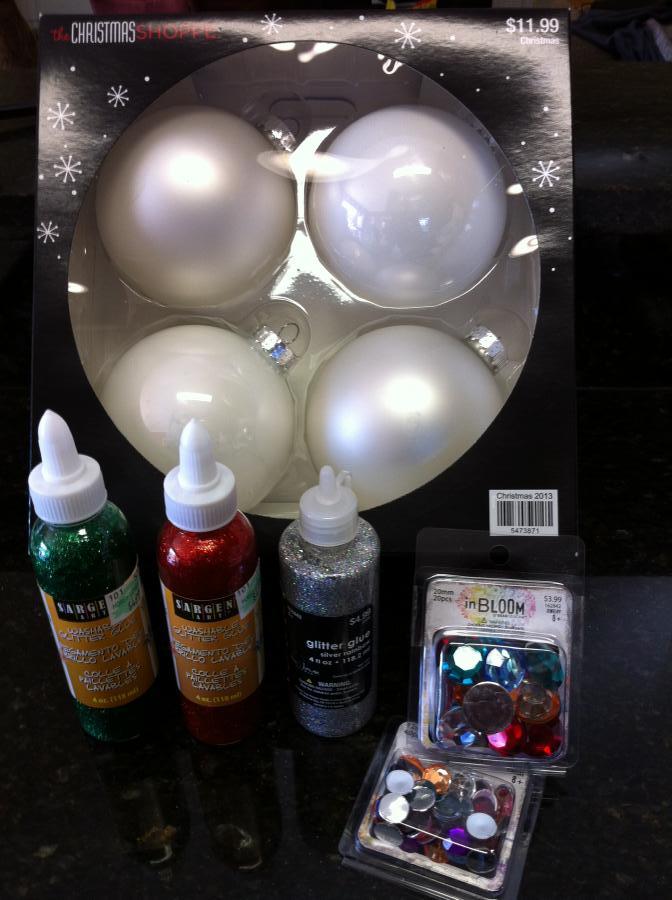
General Dis Pics 11.13 014So I bought my supplies – a box of four white ornaments (two are shiny and two are matte/pearl), two sizes of bulk rhinestones, red and green glitter paint, and some silver glitter glue (for attaching the rhinestones).

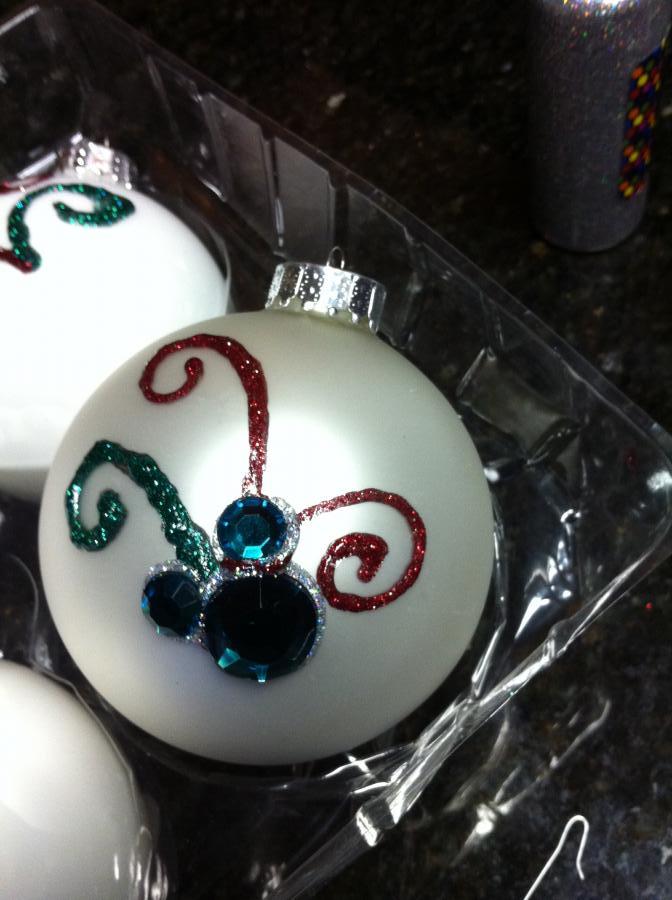
IMG_2155Once situated at home with all the necessities, I started painting swirly-things.  YIKES.  Harder than I thought.  I really wanted to make my ornaments look exactly like the originals, but it was just not going to happen for me.  So I stuck with VERY basic swirls and had to be satisfied with that.  Luckily, when they finally dried (oh, I was impatient and it seemed to take forever) – they looked less gloppy and uneven to me (maybe.  a little.). 

Once the swirls dried, I used the silver glitter glue (oh, has a more fun substance ever been invented?!) to attach the rhinestones in the classic Mickey head shape.  Buying multi-colored stones in a pack was not very smart – the reds and greens weren’t as plentiful as I’d hoped.  So, I got only one group per ornament.  Just as well since the whole painting thing was dicey.  In the end,IMG_2157 I was happy enough to actually put them on the tree. The Fam (as usual) cheered me on and made me feel better about my expectations exceeding reality.  Really, they could be so cute when done by someone with actual artistic talent – that’s where you come it.  PLEASE – if you try this and end up with pretty ornaments, share a picture with me!  I’ll try not to be too jealous and I’ll post the picture right here on my Disney blog.

Good luck.  I have faith in you.  You can do it!