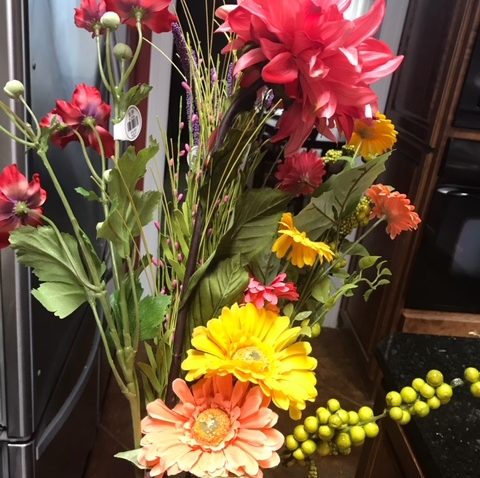
 As so often happens, creativity struck when I noticed a 50%-off sale at my favorite hobby store. This time for artificial flowers. There was a huge selection and I wanted to be frugal, but have a nice finished project. I’m positive I invested more time shopping for flowers than I did putting the wreath together. I seriously spent very little money and hardly any time on the entire endeavor. You know I’m lazy when it comes to stuff like this. I strive for maximum results from minimum effort (a challenge I can’t resist). So, if you decide to take on this project, your results could be much better than mine. As it is, I’m pretty pleased with the payoff my modest time/money investment produced.
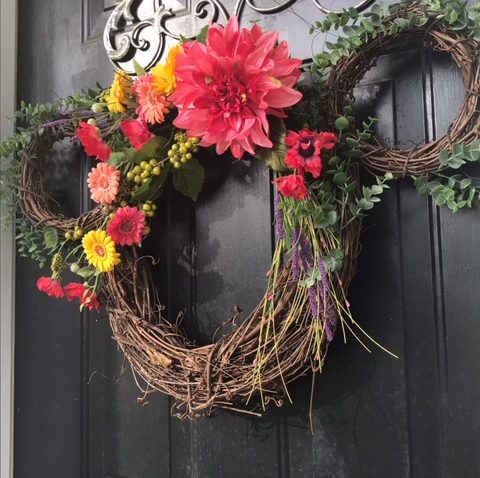
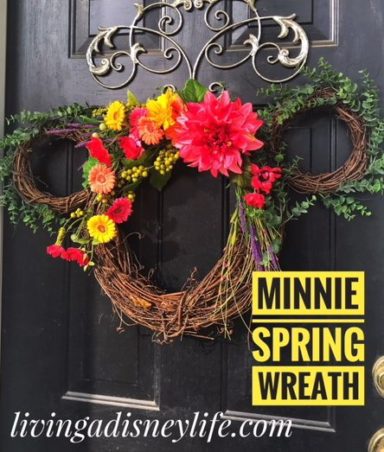
Disney DIY – Minnie Spring Wreath
What You’ll Need
- Three grapevine wreaths (one large, two small)
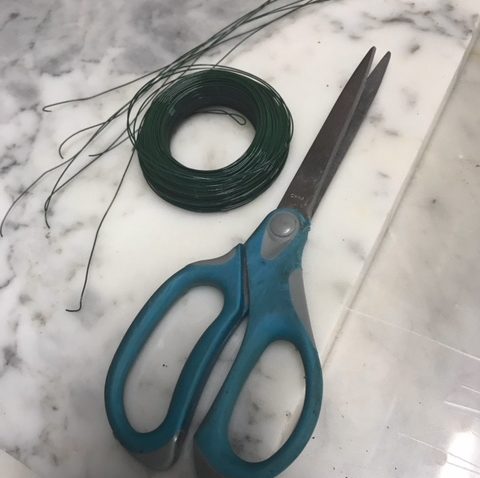
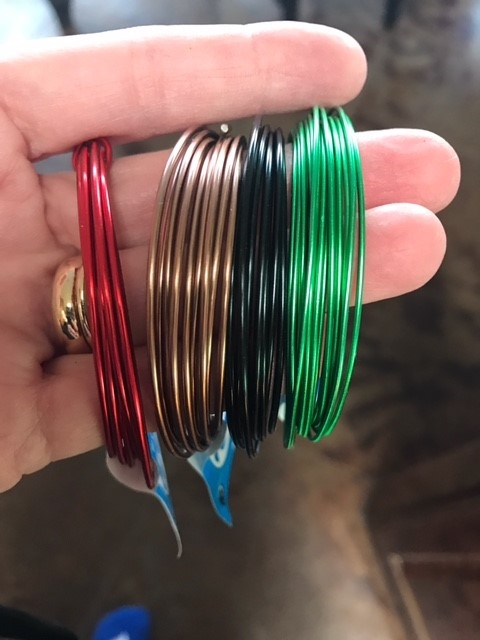
- Wire
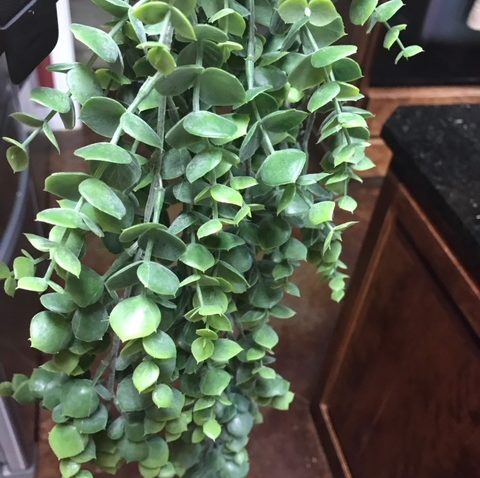
- Flowers (put together a bouquet of colors you love)
- Greenery

I know there’s an official ears-to-head ratio for Mickey and Minnie (ears are 3/5th the size of the head). The two smaller wreaths I bought were too small to be officially correct to that ratio and I knew this going in. Two factors were at play: the wreath selection was limited and the end product needed to actually fit on my front door. To compensate for this problem, I plumped up the ears with the addition of some greenery and was happy with how it turned out. Do the best with what you’ve got!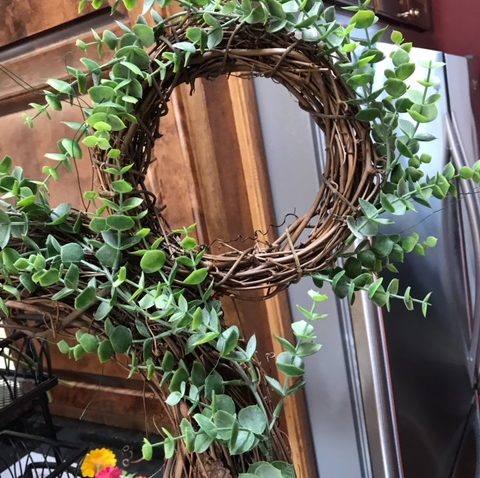
So Easy, Anyone Can Do It!
I started by pre-cutting several lengths of wire. Then I added greenery to the ears and head. On the ears, I was careful to keep the greenery to the outside, top edges in order to add volume and make them look larger. I did this before wiring the ears onto the head, which was super easy. This part took about 10 minutes. 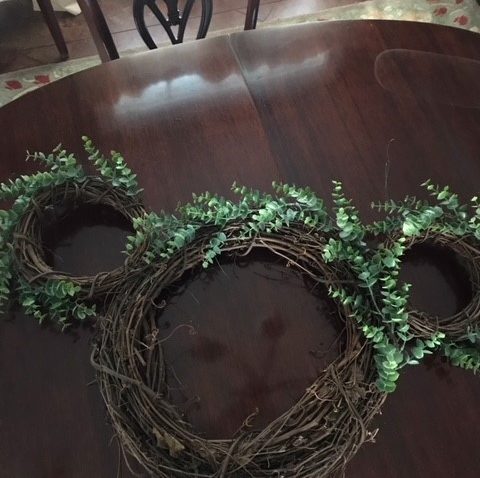 Next, I started wiring flowers onto Minnie’s head. I started with the biggest clusters of flowers, added the one giant pink flower, then finally filled in with accent sprays and smaller flowers.
 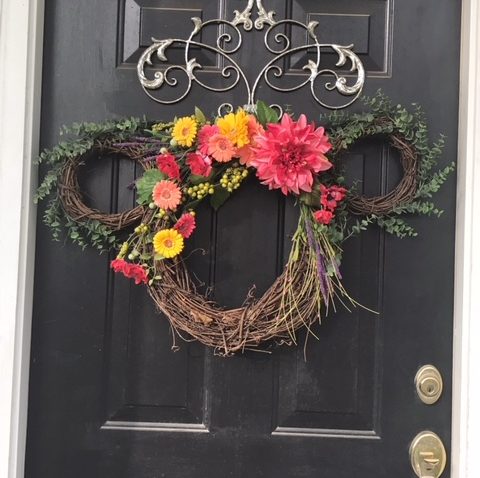 That’s it. Took maybe 30 minutes, max. You could easily make this fancier with the addition of some ribbon, flowers in hidden Mickey shapes, or maybe even a small bird’s next with eggs in it. What do you think? Is this something you’d try? I did a Christmas version here and a Halloween wreath here.
Have you completed a spring Disney project? I’d love to see it!


 Rhonna Designs – The free, basic package included in this app is packed with thousands of ways to enhance your pictures. While some features are easy to figure out, others are a bit more challenging. I love the