T here hasn’t been a Christmas since Raymond and I married that there weren’t Disney gifts. Clothing, P.J.’s, ornaments, movies, games, stuffed animals, toys, home décor – and so on.
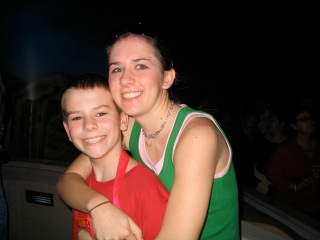
One year in particular stands out in my memory as the absolute best for Disney gift-giving! Megan was 16 and Joseph 11. They had been arguing most of the year (literally) about where to go on our next vacation. Megan wanted – and to this very day – always votes for – Disney World; Joseph wanted to see the ocean. Any ocean. We hadn’t been to the beach in so long, poor thing couldn’t remember what the ocean looked like. The argument went on and on, month after month. Seriously, aren’t you surprised sometimes by how tenacious siblings-at-odds can be? During all that debate, an idea began to form. What if we could give them both what they wanted?
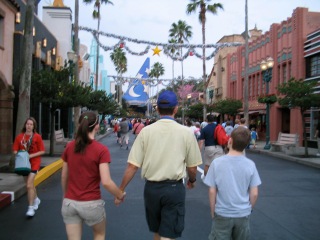
The perfect solution would be a Disney Land-and-Sea Vacation. Hey – what if we could pull it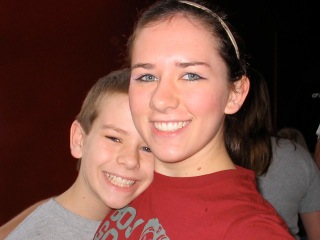 off as a Christmas surprise? When could we go? Both the children were extremely involved in activities outside of school. Megan had auditioned for and become a member of a local ballet company four years earlier – the practice and performance schedules were seriously demanding. Our best bet was to try to go on Christmas break – which, if this trip was going to be a Christmas gift, would mean leaving right after Christmas Day. A little web surfing and a few mouse clicks later… Ta-Dah! We’d booked a package that would have us enjoying four Disney-World-days at the Polynesian (over New Year’s) before sailing on a 3-day cruise in the Bahamas. I’ll be honest – Raymond was not in favor of this plan, but only because he had no interest whatsoever in taking a Disney cruise – thought it would be boring compared to Disney World. HA!
Booking the trip was SO much easier than trying to keep it a secret. That part was torture! There were several times over the months leading up to Christmas when either Raymond or I would start to make a comment or ask the other one a question about the trip in front of one or both of the kids – each time we managed to catch ourselves just in the nick of time.
 Now we needed to figure out how to stage the big reveal. This was going to be the best gift EVER and I wanted the gift-giving to be so epic – the most incredible, most unique, most FUN and exciting moment-to-remember-from-childhood for our precious youngsters! I came up with a scathingly brilliant idea! (Triple points if you can name the movie reference there). I decided that by making the gift’s discovery a little challenging, the surprise would be even better! A treasure hunt would be just the thing! In fact, a pirate-themed treasure hunt would go right along with the gift!
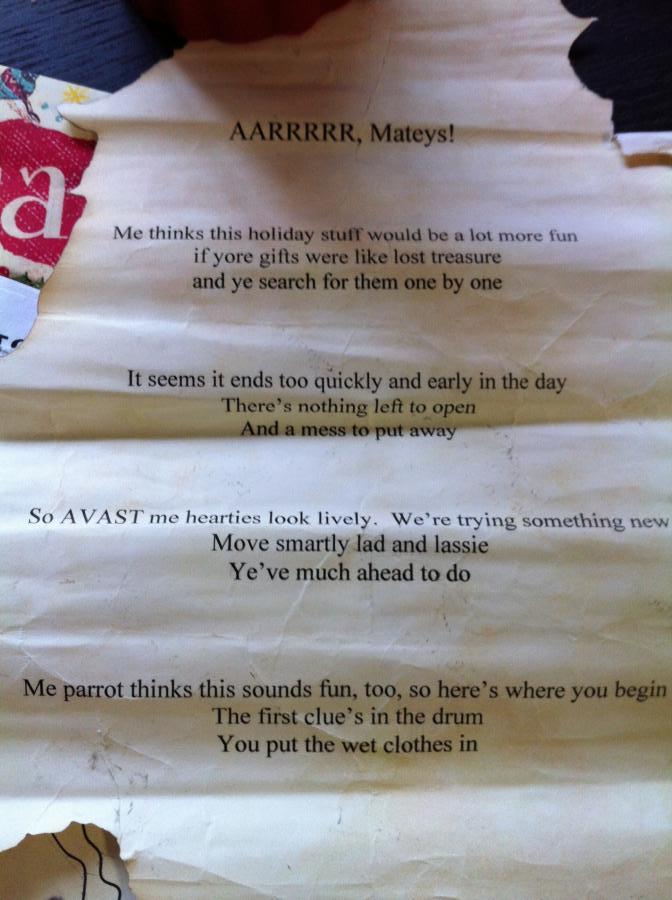
As with most of my hair-brained schemes clever plans, I pulled out all the stops! I wrote clues on scrolls written in pirate-speak suitably aged and burned around the edges. These clues lead to puzzle pieces that, when assembled in their cardboard-backed frames, would form a poem that described the surprise. Note: gluing poetry onto puzzles before cutting the pieces apart while preserving the ability to read aforementioned poem is WAY harder than it sounds… 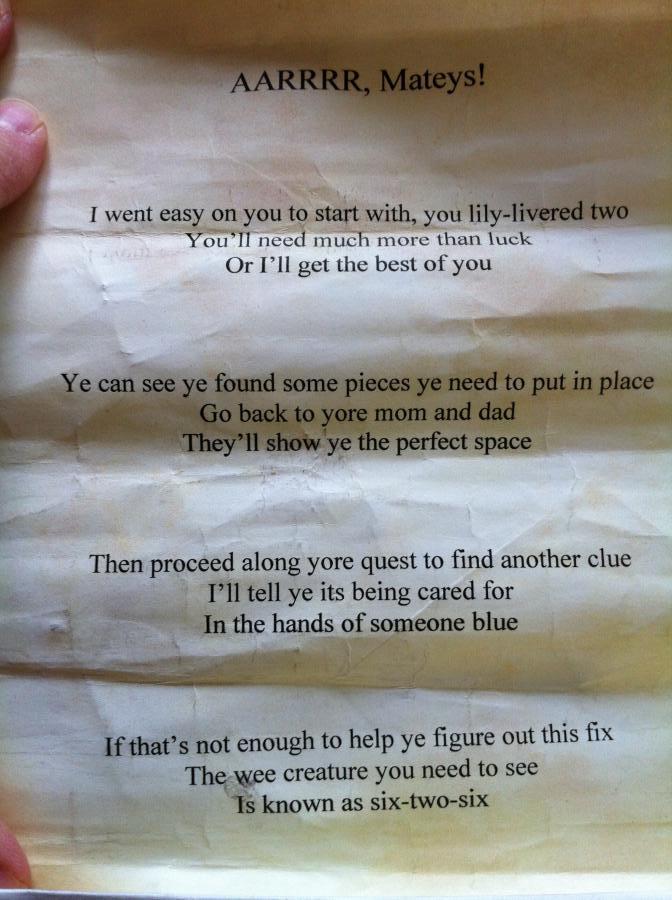 y’know, just sayin’.
So – Christmas morning finally arrived! The moment Raymond and I have been waiting for….the first scroll is handed to the children and, reading the clues, they begin their search to find puzzle pieces. Here’s where my plan went a teensy bit awry. See – I thought the whole plan would be just perfect if the location of the final puzzle pieces were really authentic to a pirate-treasure-finding-mission. I had Raymond bury a small wooden chest in the side yard – pretty far away from the house. So, that treasure chest (carefully wrapped in plastic) containing the final puzzle pieces was about a foot deep near a small pine tree next to a bayou – a lovely location for a sunny December day.
 In my defense, keep in mind that here in Louisiana we sometimes wear shorts on Christmas – today even (December 20th), was in the 70’s, tomorrow will be near 80 degrees. Yeah….Christmas day in 2006 dawned pretty chilly. And RAINY! Oh, the following-the-clues part was great until our teen and tween realized they would have to use a map (outside in the rain) and a shovel to dig in the MUD in order to finally find out what was up. Oh, the eye-rolling and loud sighing – just imagine the indignity and horror! Indeed. We were downright
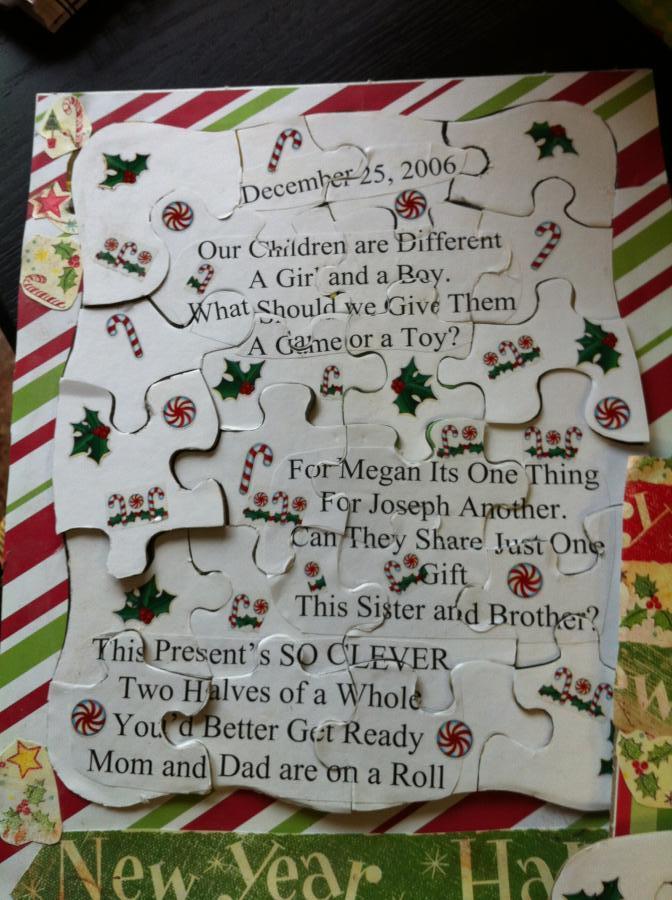 cruel to ruin Christmas in such a way.
But they completed their mission! Put the final pieces together and read the poem. Then they just stared at us. After a moment… light bulb! No, REALLY? You mean it? Seriously? We are going to Disney World and on a Disney Cruise…..Really?
Yep – it was worth every single moment of preparation and secrecy. And we had a great trip. And the children forgave us for our cruelty. AND Raymond had a fantastic time on our first Disney cruise – so much fun, in fact, there have been four more since.
 “Our children are different a girl and a boy. What should we give them a game or a toy? For Megan it’s one thing for Joseph another – Can they share just one gift, this sister and brother? This present’s so clever, two halves of a whole – You’d better get ready – Mom and Dad are on a roll! Now Megan we know what will make you most jolly – this time next week you’ll check in to the Poly. And Joseph beware! It’s pirates you’ll be seein’ when you set sail with Mickey to cruise the Caribbean.”
 So….What’s been your favorite Disney Christmas surprise?