 It’s been long time since I’ve worked on a Disney craft project. This one was not even planned, but happened mostly by accident. Raymond and I were out supporting our local merchants on Small Business Saturday and we happened to be in a fantastic home décor and accessory store that always has the most amazing Christmas decorations! We were there for just a quick stop to pick up a couple of ornaments for gifts and grab some extra ribbon and deco mesh (you can never have too much deco mesh, right?).
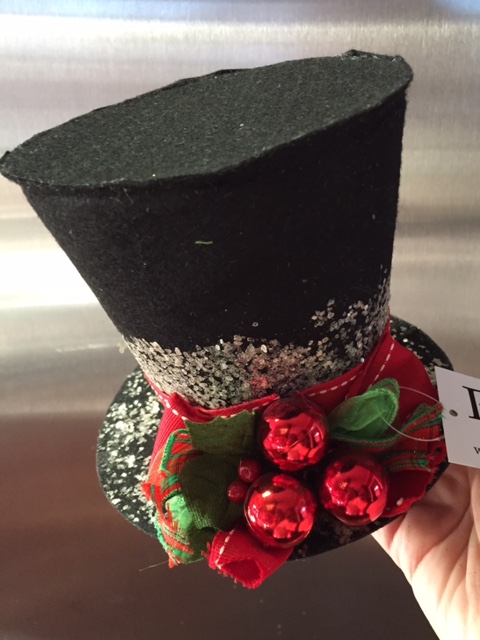
As we were making our way to the checkout counter, I stopped dead in my tracks, having spotted something unexpected and adorable! I spied a small black felt top hat, decorated festively for the holidays. As usual, I immediately said what I was thinking, “Hey! I could put ears on this!” and Raymond, in his usual way, replied, “You could.” Enough chitchat. New item added to the armfuls we were carrying, we made for the cash register.
By the time we got home, I had formulated a plan for that little top hat’s transformation into a Disney-themed tree topper. All I needed was to make use of Raymond’s mad skills with power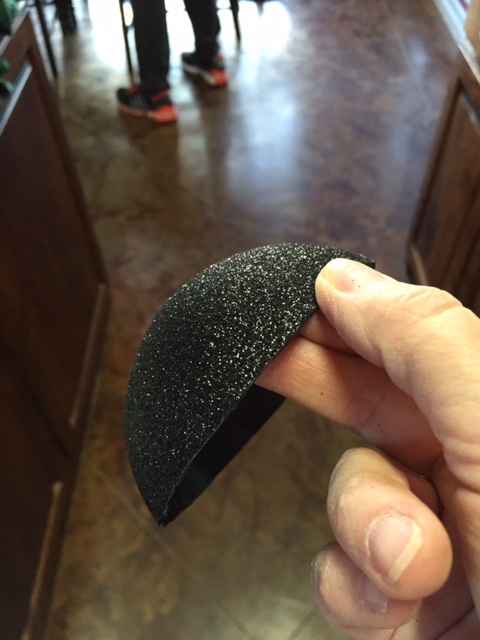 tools. I handed him a large, sparkly, black shatter-proof ornament left over from the Halloween wreath project and told him to make me a couple of ears from it. Because I love him, I did remember to yell, “Don’t forget protective eye wear!” as he headed outside to his shop. I wish I could show and tell you exactly how Raymond managed to slice two perfect ears out of that one ornament, but I didn’t see what he did. I will tell you it involved something called a die grinder, but I have no idea what that is or does. If you decide to slice up a plastic ornament, I imagine a saw of some sort would also work.
Now, I knew that if I just glued those ears onto the hat, there would be a big gap between each ear, the hat, and the hat’s brim. I was trying to figure out a way to fill that gap with some black sheet-foam that I had on hand, when Raymond solved the problem for me by cutting the foam into tear-drops that could be used to cover the  back of each ear and fill in that gap at the same time – I do love that man! So, I fired up my new glue gun, which gets really super hot in a hurry, and proceeded to glue the backs onto each ear, then glue the ears carefully onto the hat, making sure the corner part of the teardrop filled in the gap between ear, hat, and brim. I only sustained one glue-burn (on my right pinky), which is actually good – the injury count where hot glue and I are concerned is normally much higher.
So, making the tree topper proved much easier than getting it in a good position at the top of the tree! I ended up making a spiral wire around the top of the tree to perch the hat securely on, then I used my old tree topper (sprays wired together to mimic Wishes fireworks) to add some festive touches around the hat. The moral of this story? Don’t be afraid to try! When inspiration strikes, go for it. The hat was $12.99 and for the investment, Raymond’s cutting skills, and one hot glue burn, we got a pretty awesome new Disney decoration for our tree.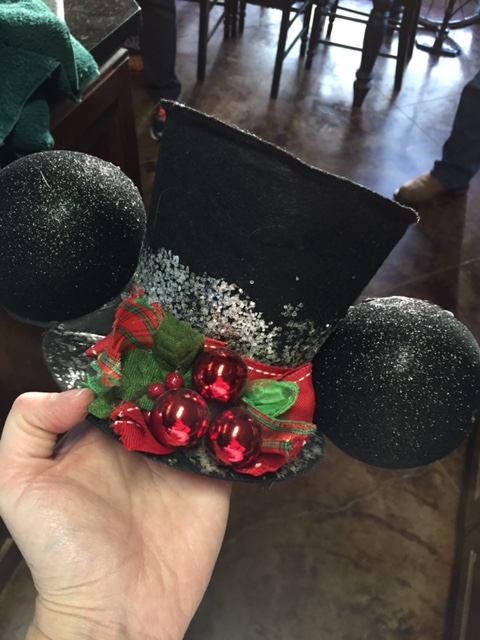
Do you have a Disney holiday craft to share? Let me know and I’ll put your project on our Facebook page!